Thursday, 5 September 2019

Darling Boy


A quick how-to on my LO Darling Boy above...


After sticking down my photo on a piece of white cardstock I layer three strips of foam tape together and placed on a diagonal on the lower portion of the back of my card. Then repeated for the upper portion. I was going for enough height as to make it appear that my card was floating above the flowers and I wanted to keep the foam tape away from the edges where I was going to slip my flowers in. 


You can see in this image how much height I had.


I made a rough plan by placing my larger flowers and the featured hearts around the cardstock. Once I was satisfied with that I stuck them down and filled in the gaps with smaller flowers and hearts as well as the fringe ribbon. Some of the flowers I used were from my personal stash. This LO is a great way to stash bust some flowers to great effect.


A couple of side views... note not all parts need to be under the cardstock.


The completed page...


Supplies used: Bazzill White, Echo Park Under the Sea Ocean Friends, AC Thickers Amy Tangerine-Today,  Kaisercraft Foam Tape, Kaisercraft Wood Flourish Pack Love, Wood Hearts, Fringe Ribbon- Wedgewood Blue,  Flowers: Green Tara: Calla Lillies, Rose Mini, 2cm Gerbera, 2cm, 4cm, 6cm, 7cm. (Some flowers and letters from my own stash).

Wednesday, 4 September 2019

New Product: Kaisercraft Starry Night

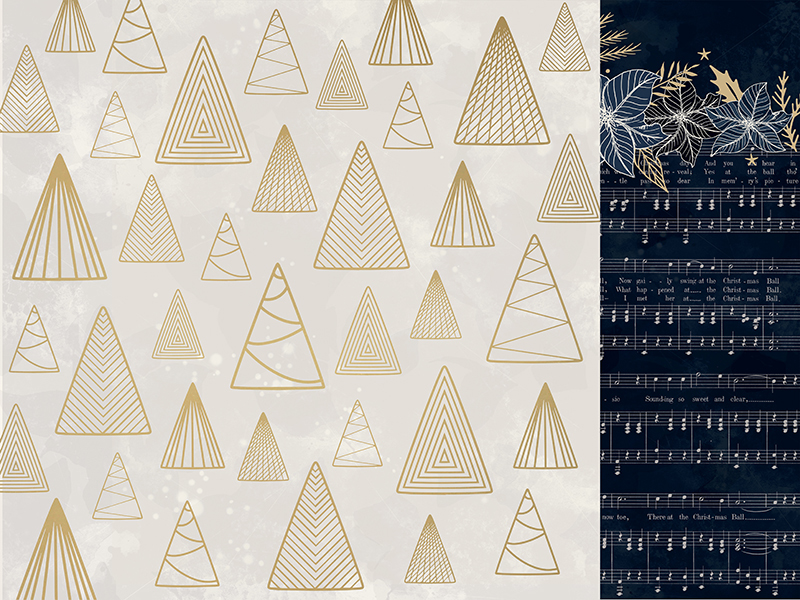
New in store this month is the stunning Starry Night Collection from Kaisercraft.


Don't make the mistake of thinking this line is just for your Christmas pages, tmost of the B sides in this line do not have a Christmas motif and so would work well for masculine pages, weddings, School Balls, Graduations, and grown-up parties. I could even see some lovely sleepy baby boy pages with the starry papers or a documenting of the first two years by month with the number papers as part of a themed album. Take a look...


To compliment this range we also have the Collectibles, Curios, and Sticker book.The photos do not do justice to these items- the Curios especially are small glass bubbles that add dimension and interest to your pages. These items all include a range of pieces that are multi-purpose and mostly not just limited to your Christmas pages.
That said this blue, gold, and white line makes for some stunning and stylish Christmas pages perhaps more suited to our homes, and lives than the colours in 'traditional' Christmas lines. These papers will make your photos pop and your pages sparkle. Why not take a step outside the box and do something different with those Christmas photos you've been wanting to scrap?


Find Kaisercraft Starry Night in store here and stop by the blog in the coming weeks as we scrap with this line and share some tips for what to mix and match this line with to make your supplies go even further.

Tuesday, 3 September 2019

Tuesday Tip


Kmart has these great little three tier shelves for just five dollars- great for putting things into view in your craft room!

Monday, 2 September 2019

Quick Share: Year 12 Ball


Supplies Used: Bazzill Cardstock, Kaisercraft Time Machine: Coggler and Ironclad, Flowers: Green Tara: Primula and Calla Lillies, Prima Shabby Chic, AC Thickers: Happy Gold, Nuvo Drops: Pale Gold, Kaisercraft Wooden Flourish Love, Cocoa Vanilla Free Spirit Fancy Buttons and Pink Paislee Indigo and Ivy Phrases.

Sunday, 1 September 2019

September Monthly Challenges


Welcome to our September challenges, this month we are going to be talking techniques.  We will revisit some old ones,  explore some new ones and have some fun with new takes on old techniques!


Challenge 1 -Stamp a decorative background

You can opt for a full page background or a border- just use some stamps as a feature on the backround of your page. I've added a step by step of my stamping on the Mystical Blog.


Supplies used: Bazzill Cardstock, Peacock distress ink, Kaisercraft paper: Gadget, Flowers: Green Tara: Wild Rose, Kaisercraft: Mini blooms, Title and Glitter stars: AC Thickers Glitter Sparkle, Kaisercraft Phrase sticker, Pink Paislee: Phrases, Nuvo drops black, Bakers Twine.

Challenge 2 - Paper Tearing

This old technique is a fav of mine.  I learnt this when I starting scrapping over 15 years ago, and the style was to tear along the edge of your 12x12 paper and use one 12-inch length on your page.

The modern take on it is to use multi-layers as apart of your embellishments.  Another modern/trendy take is to use large torn layers as matt's and layers under your photos and clusters.

Which is what I have done on my example page.


Product used:

Pink Paisley - Indigo & Ivy  papers and Stickers
Flowers - Mulberry Flowers, Carnations and Rose
Leaves - Green Tara Ferns
Ink -  Versa Colour, Pinecone

From my stash I've added some corrugated card, torn and inked along with some fussy cut flowers from Cocoa Vanilla range that I left over, and some wire spirals I made.


Challenge Rules
Please upload your entries to our Inlinkz link up, or to the album in our Private Facebook Chat Group by 11.55pm 30th September 2019 to be eligible for the prize.

Albums - Here
Chat Page - Here

The prize is by random draw.

· International entries are welcome, however, due to international postage cost, a Creative Design Spot will be offered along with a little surprise in the post.

Australia residents, this month’s prize is a Mixed Alpha Stickers. 


Have fun and please share with your scrappy friends!
Mystical Team

Stamped Background Technique

My September challenge for you is to stamp a background... you can do yours any way you want but here's a step-by-step of mine to help you out...

Step 1: Make a rough plan... and photograph on my phone. Then I remove all the pieces making a few discreet guide marks in pencil to remind me where things are going.


Step 2: Stamp the first image using my guide marks for placement. (apologies for the terrible photos I was scrapping at night).


Step 3. For images that are at the top of a border I will often ink the stamp and then pounce of some ink near the top with a baby wipe to make the 'edge' a little softer or slightly distressed. I'll do the same at the bottom especially if the stamp is quite 'blocky'.


Step 4. Stamp again... it doesn't matter if the images overlap a little it won't really be seen in the final page.

Step 5.  When I am stamping my complimentary or smaller images I always ink once and stamp twice the second stamping is obviously lighter providing more interest and texture.


Step 6.  Stamp till you are happy with the look- the shape and the balance... here's my final image before I complete the page...


Step 7.  Stick down the photos and any other lower layers like patterned papers...


Step 8.  Add bakers twine with glue dots or a clear drying glue...


Step 9. I added my title and phrase sticker...


Step 10. Added my stamped image in the opposite corner to tie the page together and popped a little phrase up with foam tape. Then added my embelishments, some nuvo drops and a little more stamping to finish the page off.


Here's my completed page...


Some detail from my border...

Gallery Pick - Maureen W

Each month on our Facebook chat, we host the albums for the monthly and Cybercrop challenges. There is such a great wealth of inspiration in those albums I wanted to pick some scrapbookers work to share each week.

There are so many aspects of this Heritage page from Maureen W that are ripe for scraplifting. The black and red colour scheme with some hints of sepia tones work so well with black and white photos. The fussy cut paper flower looks fabulous. I love the layered and inked book papers and corrugated cardboard. Plus she's not been tempted to go over the top with her embellishing making for a sparse and stylish page. Thanks for sharing such a great page with us Maureen.