
Today I have a question for you
Seeing as how the product of the month is dies and they are 20% off for the month I would like to know how you store your dies?
Currently I store mine in the Avery Elle storage pockets
They come in an assortment of sizes and the ones I use are,
Extra Large - 6 3/4" x 9 3/8" (50 Pack)
Large - 5 1/2" x 7 3/8" (50 Pack)
Small - 5 1/8" x 5" (50 Pack)
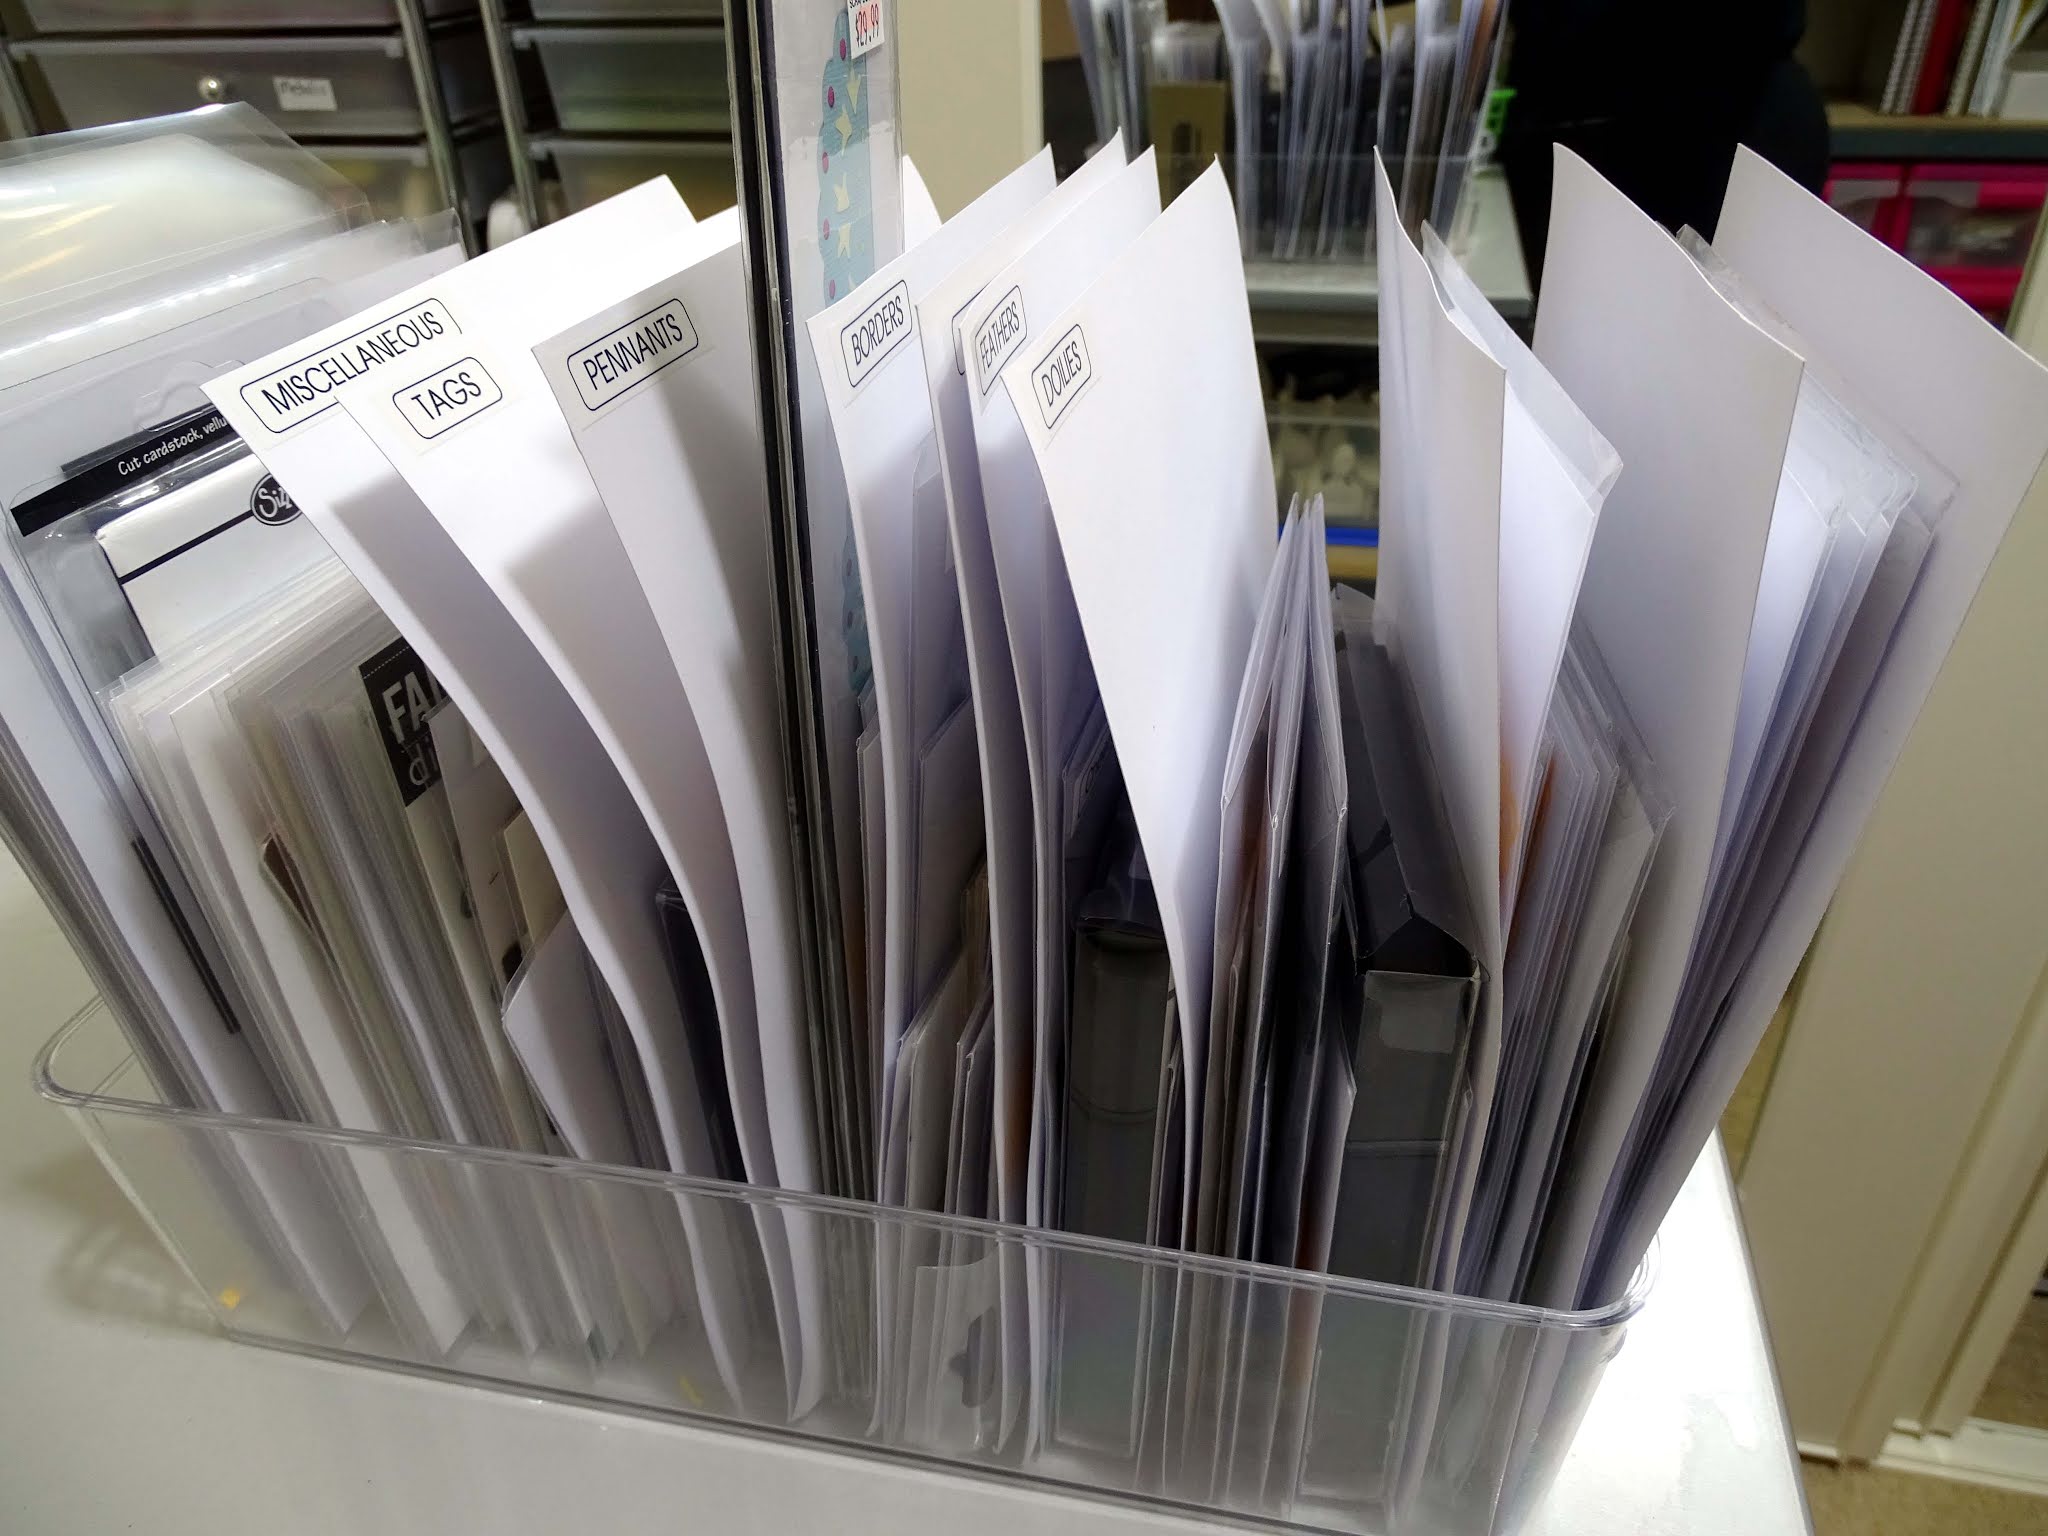
I cut a piece of white cardstock that is slightly smaller than the pocket and put that inside the pocket.
I attach a piece of magnetic sheet that is large enough to hold the die/dies.
I use my label maker to add a label to the pocket.
I write on the cardstock how many pieces are in the die set so I know I have got them all when I am packing up.

I store all of my packets in clear containers.
I have made category labels to fit into the containers so I can sort my dies
and hopefully make them easier to find.

I always try to cut one of each die when I receive it and place it in the packet.
I use this to try for size when I am trying to decide what to use on my project.
I store any un-used die cuts from my projects in the back of the appropriate packet.

If the die set has matching stamps I store these in the back of the packet.

I currently store these in with my die storage but not sure whether I should keep them with my stamps.
In fact I think I have some in the stamp storage bins and some in the die storage bins.
Perhaps they should have their own bin?
I store my stamps in the same type of bins, sorted by type.

I would love to know how you store your dies and die/stamp combinations.
Looking forward to seeing your systems
Hugs
Julie


